
Where Should I Mount My Float Switch? How Tank Dimensions Affect Placement
Mounting location directly affects switch performance. An incorrect placement can result in missed set points, restricted float travel, or a configuration that physically cannot be installed in the available space. A few precise measurements will resolve most placement questions before the order is placed.
Define Your Level Set Points First
Before selecting a mount location, establish the required activation points. Where does the liquid need to be when the switch triggers? For pump or valve control, this typically means a high and low set point.
Once those points are defined, measure from the top of the tank down to each one. That distance determines stem length for vertical float switches and establishes the required position for side-mount units. Skipping this step leads to undersized stems, incorrect positioning, and field adjustments that could have been avoided.
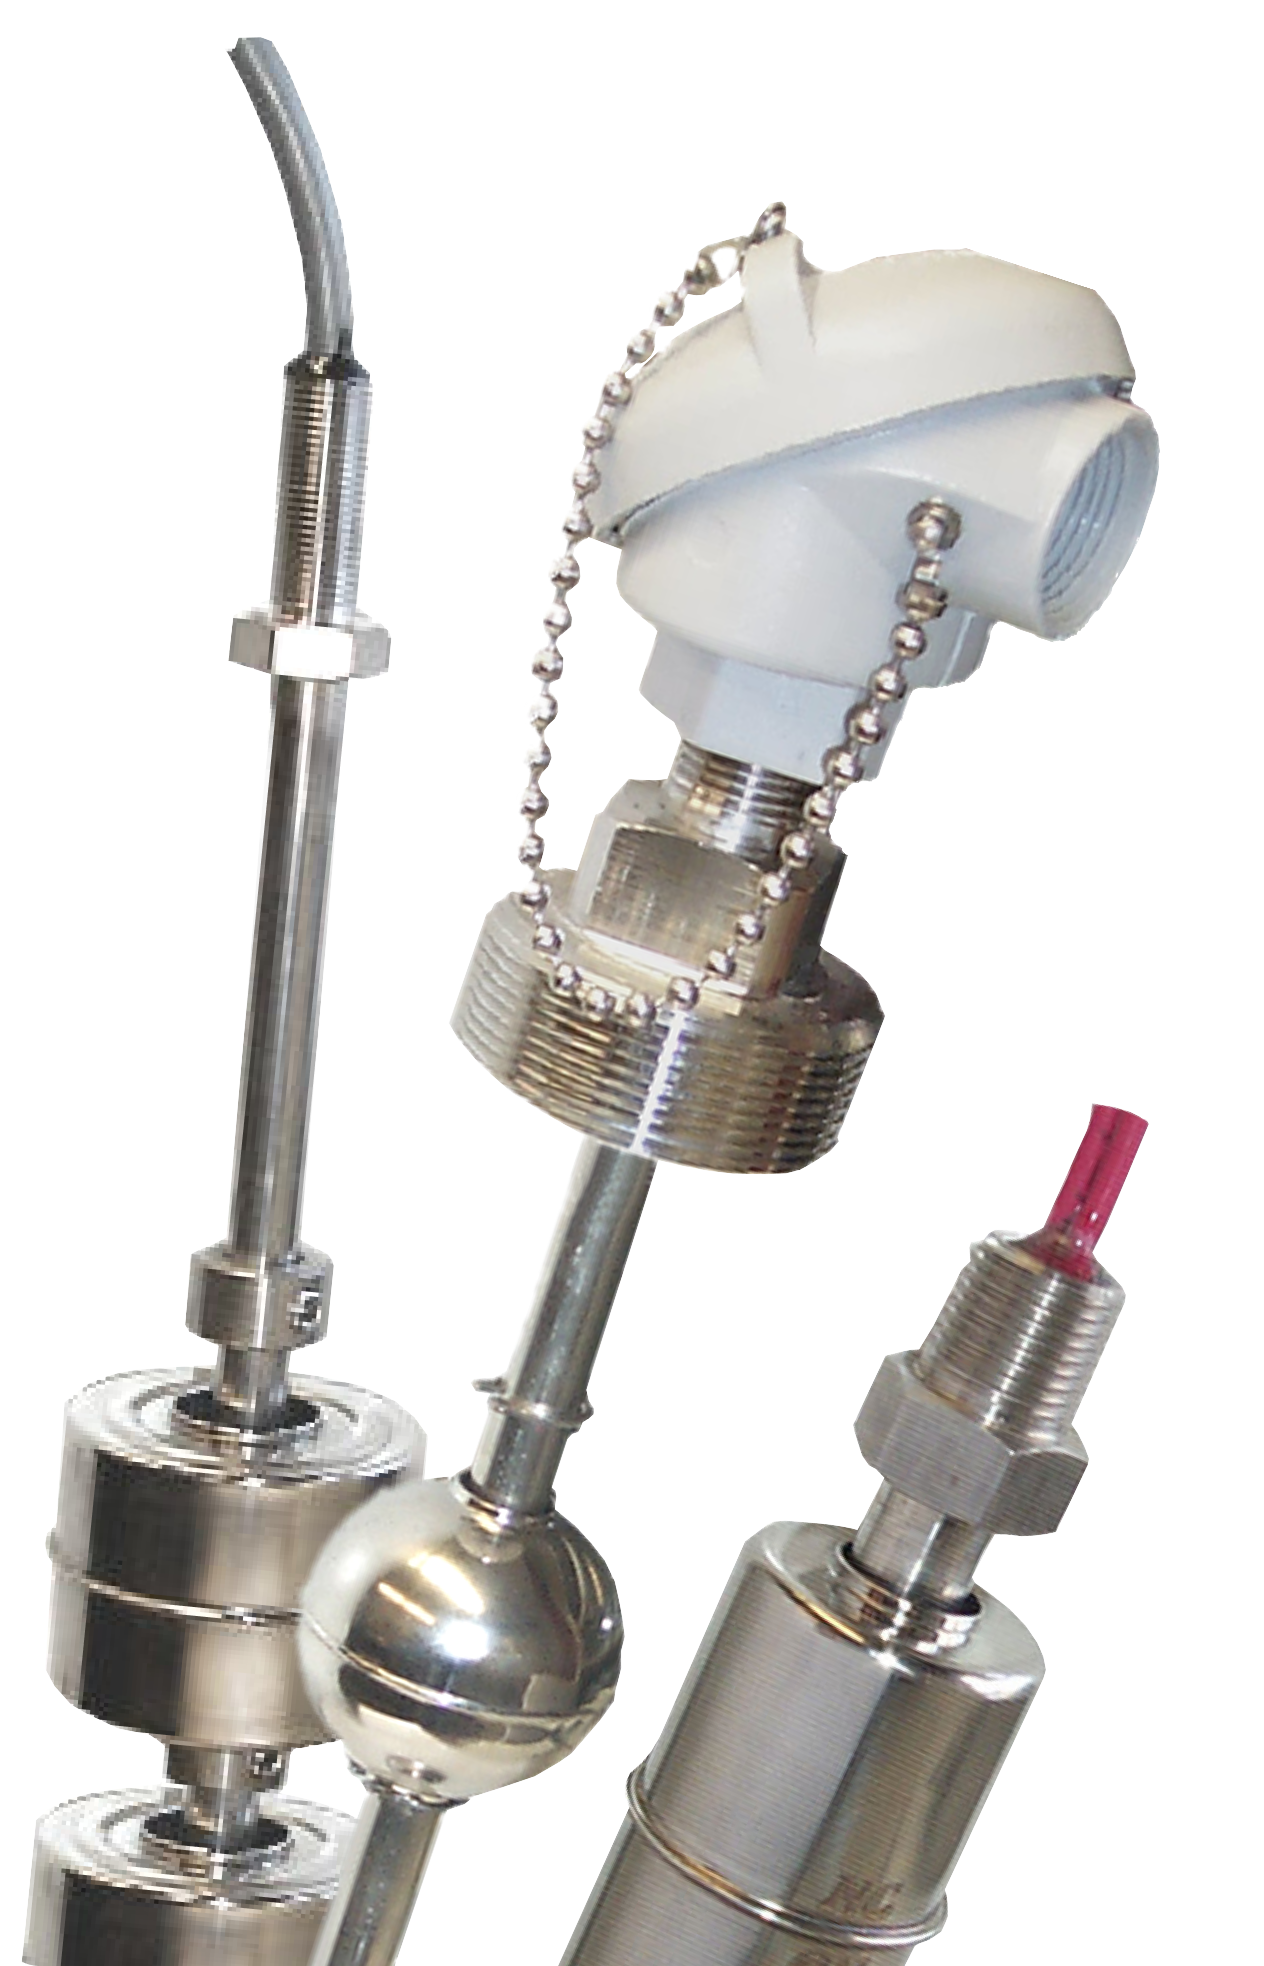
Top-Mount Vertical Float Switches
Top-mount switches are installed through a threaded fitting either down into the tank from the outside or up into the tank from the inside. The overall length is typically 1.0”-2.0” longer than the lowest switchpoint..
Side-Mount Float Switches
Side-mount switches thread through the tank wall at a fixed elevation, making them a straightforward option for single-point level control. The installation requires adequate clearance between the float and the tank walls, floor, and any internal hardware. Float contact with a tank surface prevents free movement and compromises switching reliability.
Horizontal Float Switches
Horizontal float switches mount through the side wall and rely on tilt action rather than vertical travel. As the liquid level rises or falls past the switch, the float tilts to actuate. These are a practical choice when vertical clearance inside the tank is limited or when a compact, low-profile installation is needed. They’re commonly used for high-level alarms and overfill protection in tight installations where a hanging vertical switch isn’t practical.
Multi-Level Applications
When the application requires control at more than one point — maintaining a level range, triggering both a fill valve and a high-level alarm, or sequencing multiple pumps — multi-level float switches handle that within a single housing. Two or more switching points are built into one unit, eliminating the need to install and wire separate switches at each elevation. This simplifies installation and reduces the number of tank penetrations required.
Clearance and Interior Obstructions
Tank dimensions affect more than depth. A narrow interior limits float travel, which compresses the gap between high and low set points. Internal components such as baffles, agitators, heating coils, or existing plumbing may restrict where a switch can be physically located. These factors should be accounted for before selecting a configuration.
When speccing a switch, have these measurements available: tank height, interior width or diameter, distance from the top fitting to each required level set point, and any known internal obstructions. That information is typically sufficient to identify the right configuration in a single conversation.
LiquidLevel manufactures float switches in a range of stem lengths, float sizes, and mounting configurations for industrial and OEM applications. No minimum orders, made in the USA, and engineering support is available by phone. Browse our float switches or contact us to discuss your application.