The mounting connection is one of the first specs to get locked in, and it carries more weight than it looks like on a datasheet. It sets how many level points you can control, how the switch gets serviced, where your leak risk sits, and which fittings you need to order. Get the connection right early and the rest of the spec falls into place. Get it wrong and you’re cutting a new penetration or draining a tank to swap a part.
The decision usually comes down to your tank, not your preference. Here’s how to read your tank and land on the right approach.
The Difference Is Where the Switch Enters the Tank
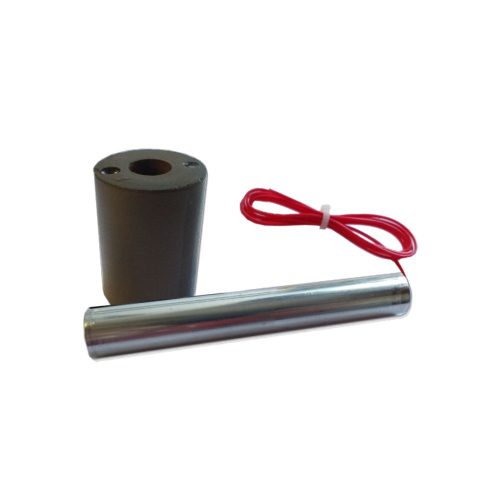
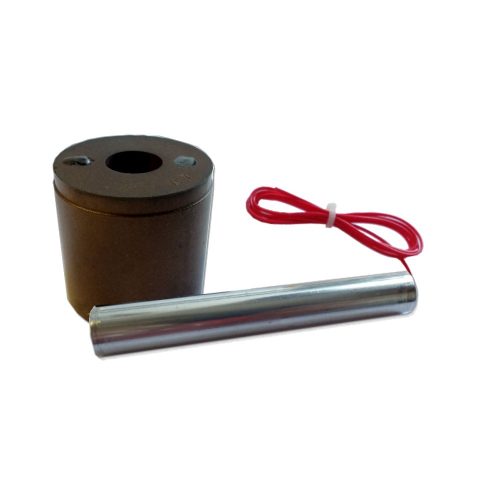
A top-mount switch enters through the top of the tank, typically a threaded fitting, cover plate, or flange on the lid. The float travels vertically on a stem, and one penetration can carry one set point or several.
A side-mount switch threads through the tank wall at a fixed elevation. Most side-mount units use a horizontal float that tilts to actuate as the level passes the switch. Each point you want to control means a separate hole in the wall.
That single distinction, top opening versus wall penetration, drives almost everything else about the connection.
When Top-Mount Makes Sense
Top-mount is the default for most multi-point and sealed-tank applications, and there are a few clear reasons why.
One penetration, multiple set points. A multi-station vertical switch can carry high, low, and intermediate points on a single stem. That’s one hole to seal instead of three, which matters for both leak risk and install time.
The penetration sits above the liquid. The fitting on a top-mount switch is above the liquid line, so a seal that weeps doesn’t put product on the floor under hydrostatic pressure. On a pressurized or vapor-containing tank, a single sealed point on top is easier to manage than wall penetrations below the level.
Easier service. With overhead clearance, a top-mount switch can often be pulled straight out the top for inspection or replacement without draining the tank below the fitting. That’s a real maintenance advantage on tanks that are expensive or slow to empty.
The tradeoff is clearance. Top-mount needs vertical room inside the tank for stem travel between set points, and overhead room above the tank to install and remove the unit. Low ceilings, stacked tanks, or equipment mounted above the lid can take this option off the table.
When Side-Mount Makes Sense
Side-mount wins when the top is blocked or when you only need to watch a single level.
Top access is limited or gone. Tanks tucked under platforms, sitting beneath other equipment, or installed with no headroom above the lid often can’t take a top-mount unit. A wall penetration may be the only practical entry.
Simple single-point control. If you’re triggering one pump or alarm at one level, a side-mount switch at that elevation is straightforward and uses less internal space than a long vertical stem.
The tradeoffs are worth weighing. Every side-mount point is a separate wall penetration, and each one sits below the liquid line, so it’s a potential leak path under pressure. Sealing and gasket material matter more here than on a top connection. Service is harder too: pulling a side-mount switch below the liquid line usually means draining the tank to below that point first. And the float needs clearance to swing freely, so wall proximity, baffles, and internal hardware can interfere.
How Tank Design Drives the Decision
Most of the choice is settled by what the tank already gives you. Run through these before you spec:
- Existing fittings and access. A tank with a spare top boss or flange points toward top-mount. One with usable wall ports and a blocked top points toward side-mount.
- Overhead clearance. No room above the lid to lift the stem out means side-mount, regardless of other factors.
- Open vs. sealed or pressurized. Pressure and vacuum vessels favor a single sealed top connection or a side connection rated for the duty.
- Number of set points. Several points on one tank tilt the math toward a top-mount multi-station unit instead of multiple wall penetrations.
- Serviceability. If the tank is hard to drain or runs continuously, top removal without draining is a strong argument for top-mount.
- Wall construction. Thin-wall poly and lined tanks may need a bulkhead fitting rather than a threaded boss, which affects both options.
- Internal obstructions. Agitators, baffles, and heating coils restrict where a float can travel or swing and can rule out a given location entirely.
Connection Hardware and Sealing
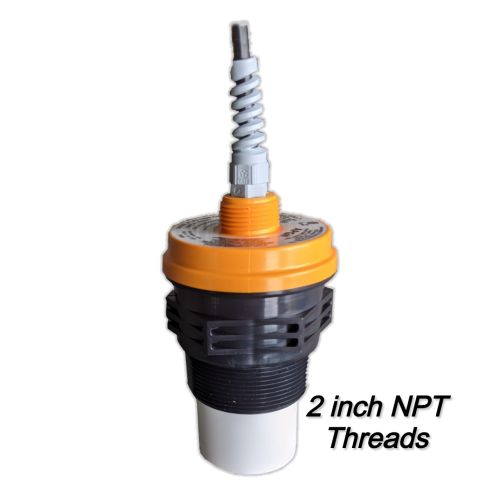
Once the entry point is settled, match the connection to the tank. Threaded NPT is the most common for both top and side fittings on metal tanks. Flanged connections handle larger sizes, higher pressures, and frequent removal. Bulkhead fittings suit thin-wall or molded tanks where there’s no boss to thread into.
For any side-mount connection below the liquid line, the seal does real work against hydrostatic pressure, so gasket and O-ring material need to match the liquid and temperature, not just the thread size. We can match the connection style and thread to your existing tank fittings so the switch drops into what you already have.
A Few Situations Worth a Call
Most connection choices are clear once you read the tank, but a few cases are worth a quick conversation before you order: pressurized or vacuum vessels, thin-wall or lined tanks that need a bulkhead approach, multi-point applications where you’re weighing one top-mount multi-station unit against several side-mounts, and tanks with tight internal or overhead clearance. We can confirm the right connection and configuration before anything ships.
LiquidLevel manufactures float switches in a range of mounting connections, materials, and configurations, with no minimum order requirements. Made in the USA, with fast turnaround and a real person available by phone. Browse our float switches or call us to talk through your tank.