This is a basic tutorial to follow when installing or replacing a vertical liquid level float switch. Always check the manufacturer’s instructions for product specific information, instructions, and warnings.
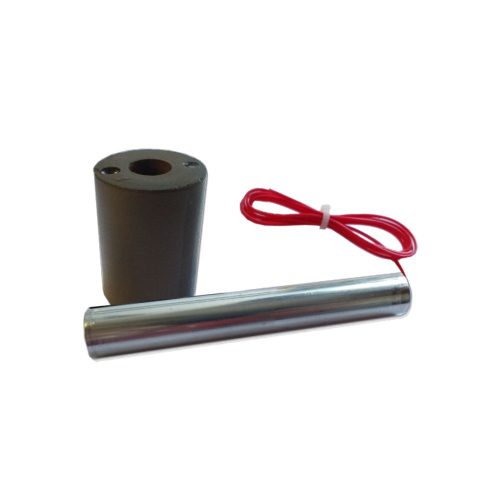
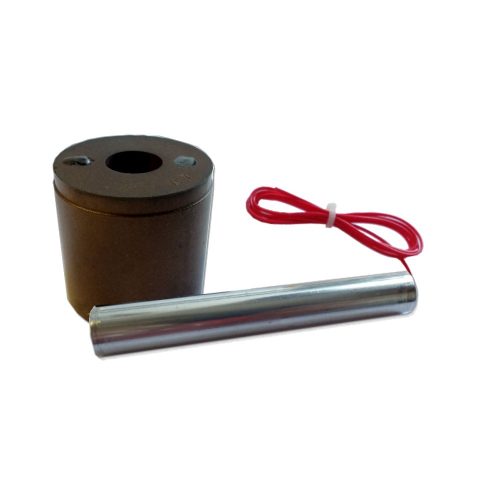
Unpack the Liquid Level Float Switch
- Carefully unpack the instrument and inspect all pieces for any damage.
- Make sure that all components have been removed from the packaging and check the contents against the packing list.
- If anything is damaged or missing, contact the manufacturer immediately.
- It is a good idea to record the model and serial numbers for future reference when ordering parts.
Prepare the Liquid Level Float Switch and Mounting Area
- Before mounting, confirm the switch is right for the service. Check that the float material is rated for your liquid and that the switch’s temperature and pressure ratings cover your operating conditions. A float that’s chemically incompatible or run past its rating is the most common cause of early failure, and it’s far easier to catch now than after the tank is sealed.
- Ensure that the inside diameter and length of the mounting is the correct size for the switch you ordered.
- Gather the tools you will need, including wrenches, thread sealant, gaskets, and/or bolting as appropriate.
- Make sure the float area is kept free of metallic particles that can be attracted to the float’s magnet.
- Check whether the switch is set up for N.O. (normally open) or N.C. (normally closed), and confirm that matches your control logic. Use N.O. when actuation should close the circuit, such as energizing a pump as the level rises. Use N.C. when actuation should open it, such as a high-level alarm or shutoff. On most vertical switches you can swap between the two by inverting the float on the stem.
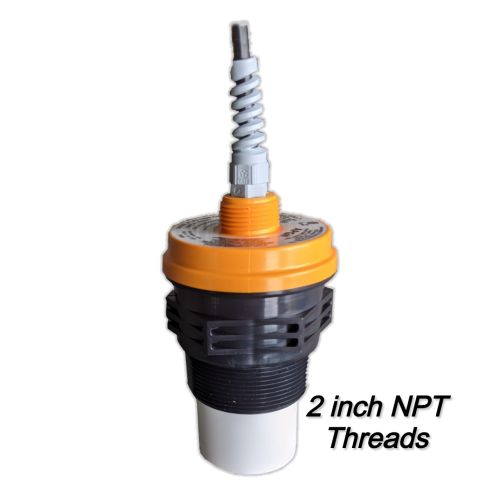
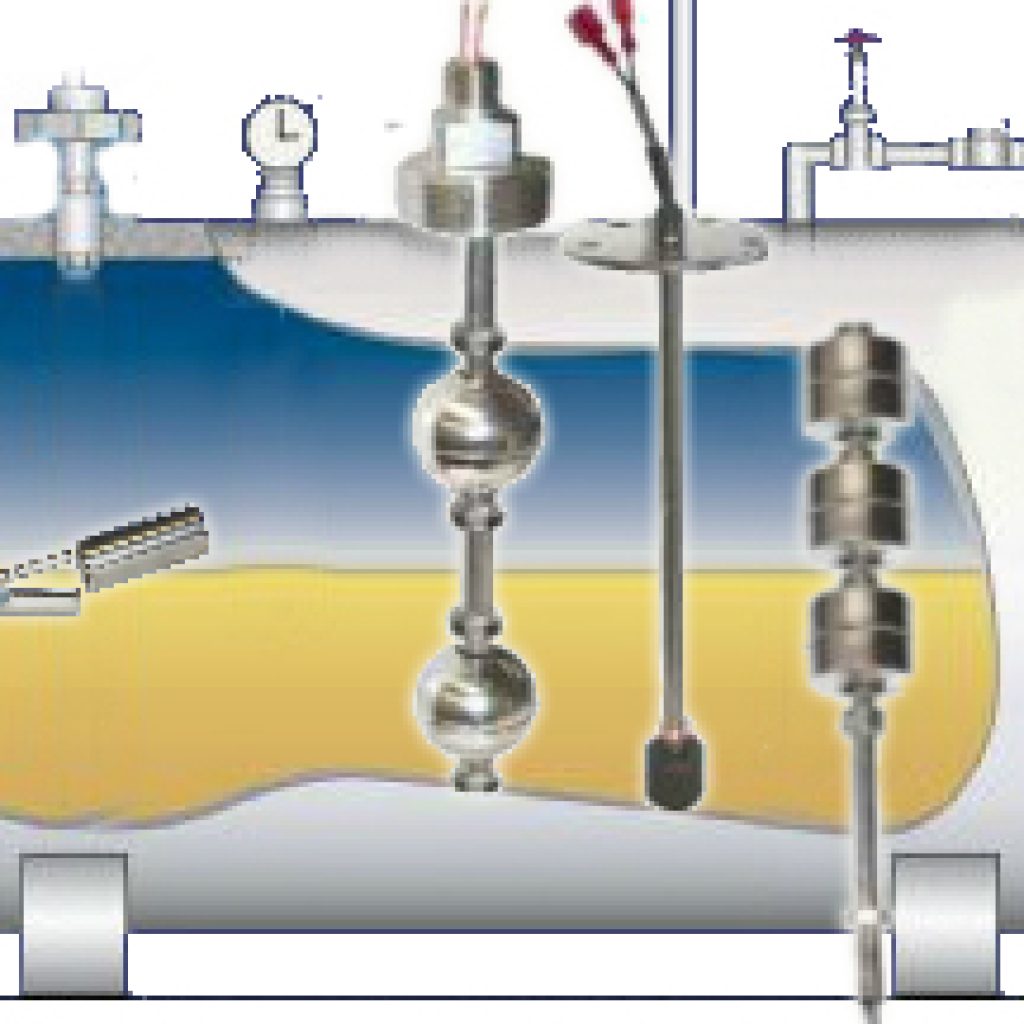
Mount the Liquid Level Float Switch
Vertical float switches can be mounted in the top or the bottom of the tank. A top-mount unit hangs the float down into the liquid; a bottom-mount unit sits below the float and actuates as the rising level lifts it, which works well for low-level and pump-on control. Either way, give the float room to travel its full stroke without contacting the tank floor, walls, or internal hardware.
- Make sure the mounting area is free of turbulence or direct streams.
- Apply thread sealant to mounting threads.
- Initially engage threads by hand to avoid damage.
- Use a wrench to rotate the switch in a clockwise direction until the threads are tight in the mounting.
Wire the Switch
- Wire the switch according to the manufacturer’s wiring diagram.
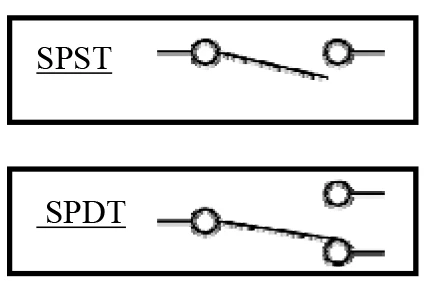
- Two common wiring styles are SPST (single pole, single throw) and SPDT (single pole, double throw).
Test the Switch
Don’t rely on the switch until you’ve confirmed it works. With power off, raise the float by hand through its full range and verify it actuates at the level you expect. A continuity check across the leads confirms the circuit opens and closes correctly in both float positions. Once it switches cleanly, return the float to its resting position and restore power.
Once the switch is wired and tested, you’re done. If you’re replacing a unit or speccing a new one and aren’t sure about stem length, float material, or mounting size, talk it through with us first. LiquidLevel builds vertical float switches to order in the USA, with no minimum quantities and a real engineer on the phone. Browse our vertical float switches or request a quote.